


Arduino SIM800L:

Arduino Sim800L GSM GPRS Module, Send SMS, Receive SMS, Request SMS, and Alert Message- Now, you can control your electrical loads and monitor sensors by sending a message from any cell phone using the Arduino and GSM Sim800L module.
You might be wondering if anyone can control loads or monitor sensors by sending a message from any cell phone, then anyone could misuse it.
Well, that’s not the case. We have designed this system with careful consideration. To control any load or request the value of a sensor, you need to enter a password. And you know, without a password, nobody would be able to control anything or request the sensor value.
And the most amazing thing about this project is that you can send control and request commands from any cell phone. And my designed system will reply back to you on that same number. When Arduino receives a message, it extracts the sender’s cell number and replies back to that number. Isn’t it amazing? Of course, it is.
Now, if your SMS package runs out, or your cell phone is turned off, or if it gets lost, there’s no need to worry. You can use anyone’s cell phone to control your loads and monitor sensors. Let's practically demonstrate it for you.
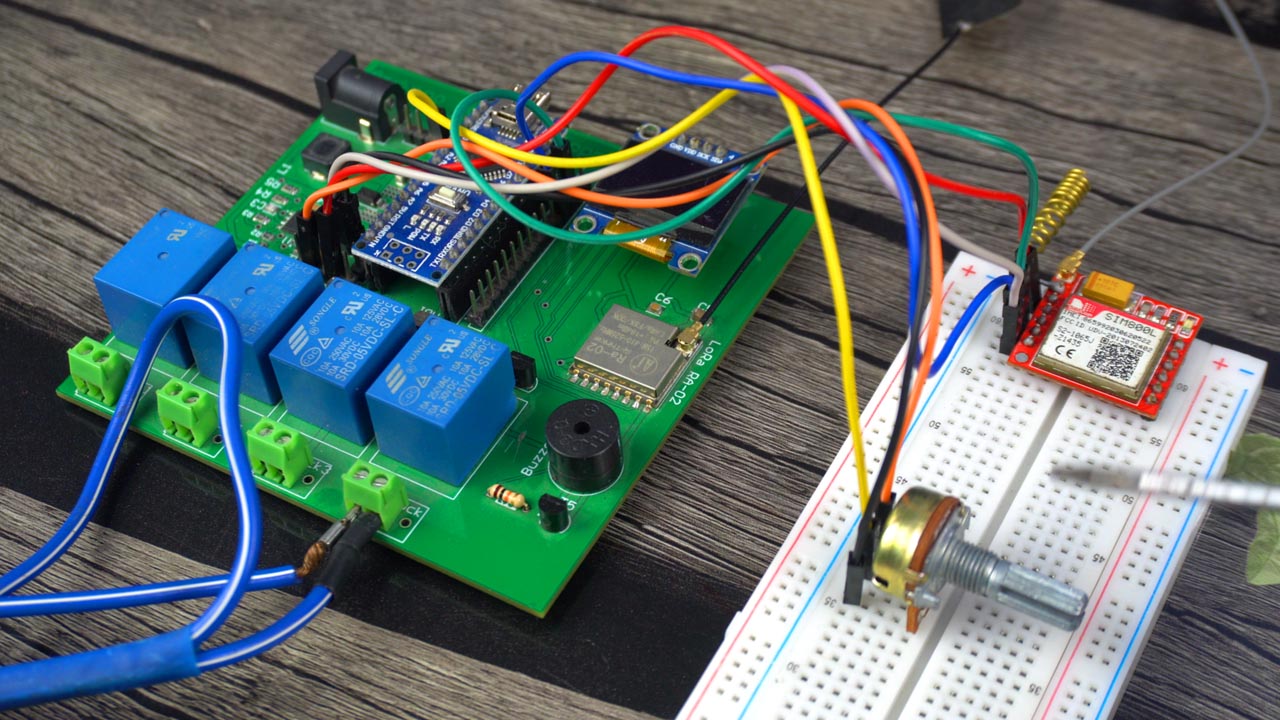
Since this is just a prototype model and a beginners level project so we have tried my level best to make it as simple as possible. So, that’s why, for the demonstration purposes we've using a potentiometer as a sensor and 110/220Vac Bulb as the load. But if you want you can use any other analog or digital sensor and the same thing applies to the Bulb.
Anyway, we have powered up the Arduino board, and we have also connected the 220Vac supply. When the 110/220Vac supply is connected, never touch the relay contacts.
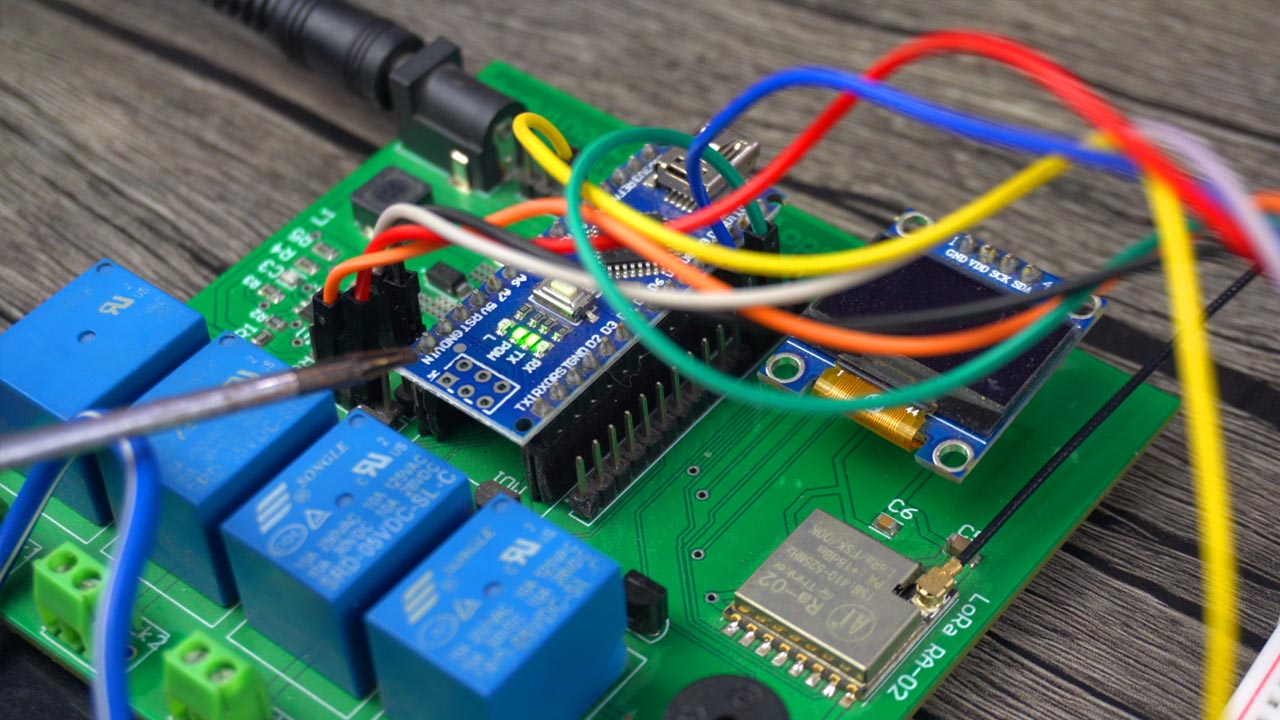
It is important to note that when working with mains voltage, safety precautions should always be taken, and it is always advisable to consult relevant electrical codes and standards. We're sure you might have noticed that we're using a single 12V power supply and this is because my designed Arduino Nano development board has a 5V and 3A power supply. Which is more then enough to power up the Arduino, GSM Sim800L module, and all the other electronics.
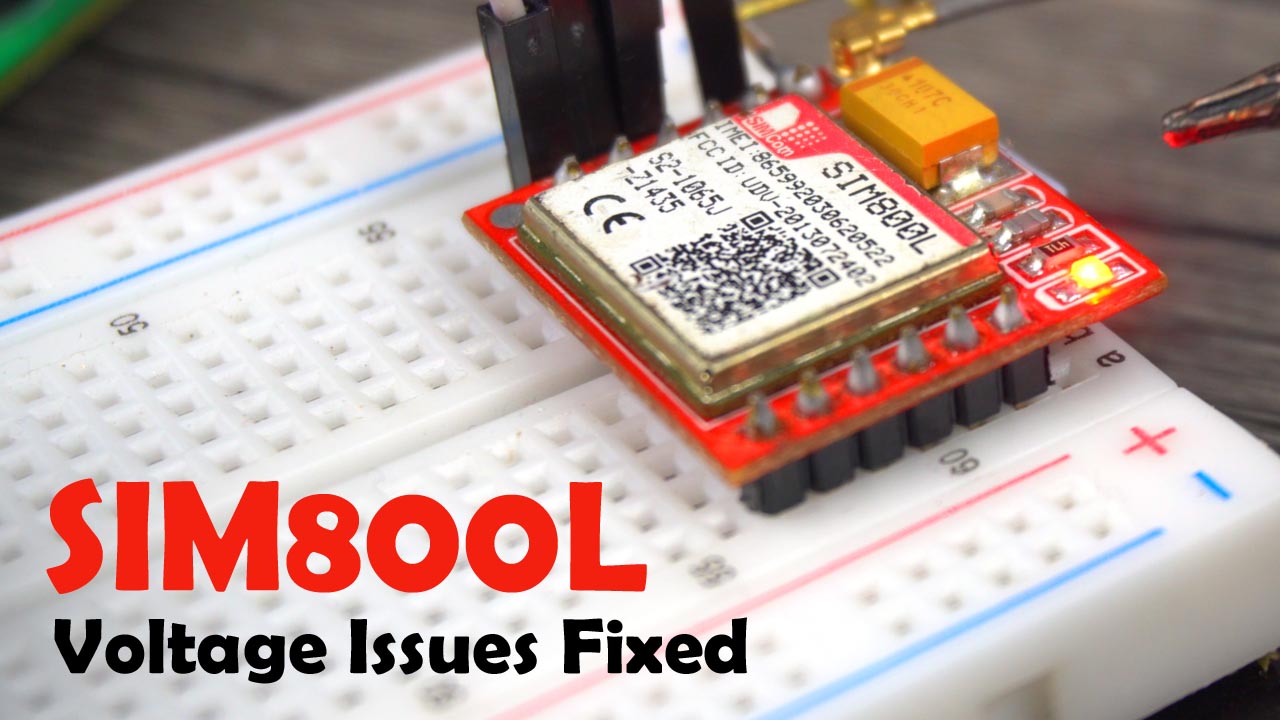
I have seen many people complaining about the GSM Sim800L module, stating that it doesn’t connect to the network or keeps restarting. Such issues are often related to the power supply. So, if you use the same 5V and 3A power supply, you shouldn’t face any problems.
If you don’t want to make such a development board, you can also make this 5V and 3A power supply.
As you can see, the Sim800L module is connected to the GSM network. Now, let’s try turning this bulb on and off.

The message simply consists of the password.
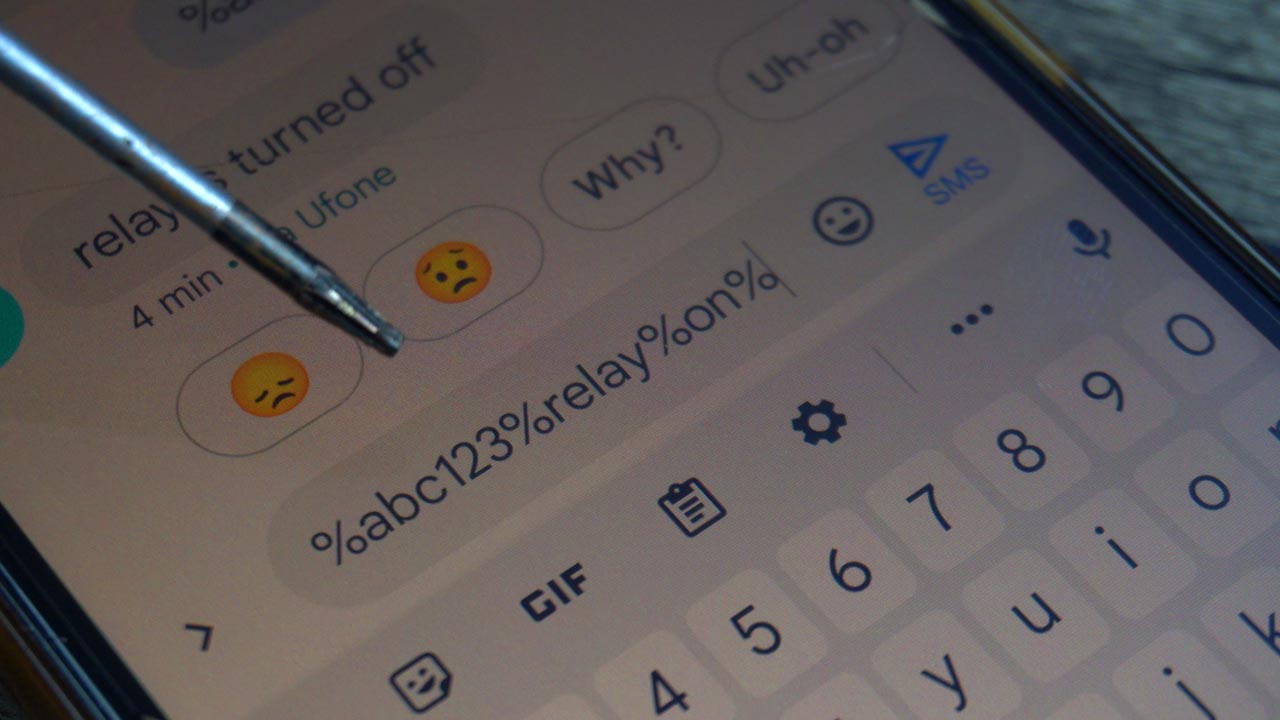
This password can consist of letters, numbers, and special characters; then the word relay, and finally the command on or off.
You might have noticed we used percentage sign; We're doing this because when the Arduino receives this message. Then the Arduino can easily split this message using % sign as the delimiter. Anyway, the message is ready, and we're going to send it to the Arduino.
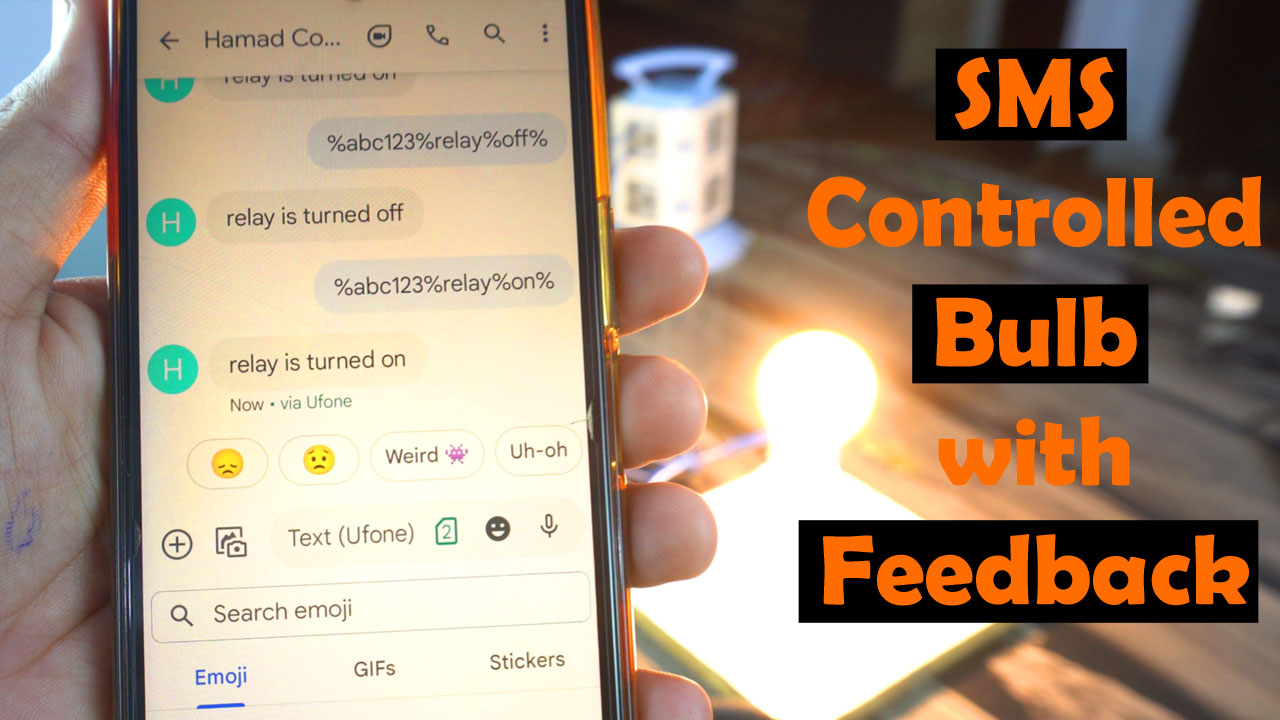
As you can see, the bulb has turned ON, and it also sent us a feedback message that the “relay is turned on”. No matter which number you use to send the message, you will receive the feedback on that same number. This feature is incredibly amazing, and we're sure you will like it too.
Let’s turn off the Blub. This time, in the message we have written “off.”
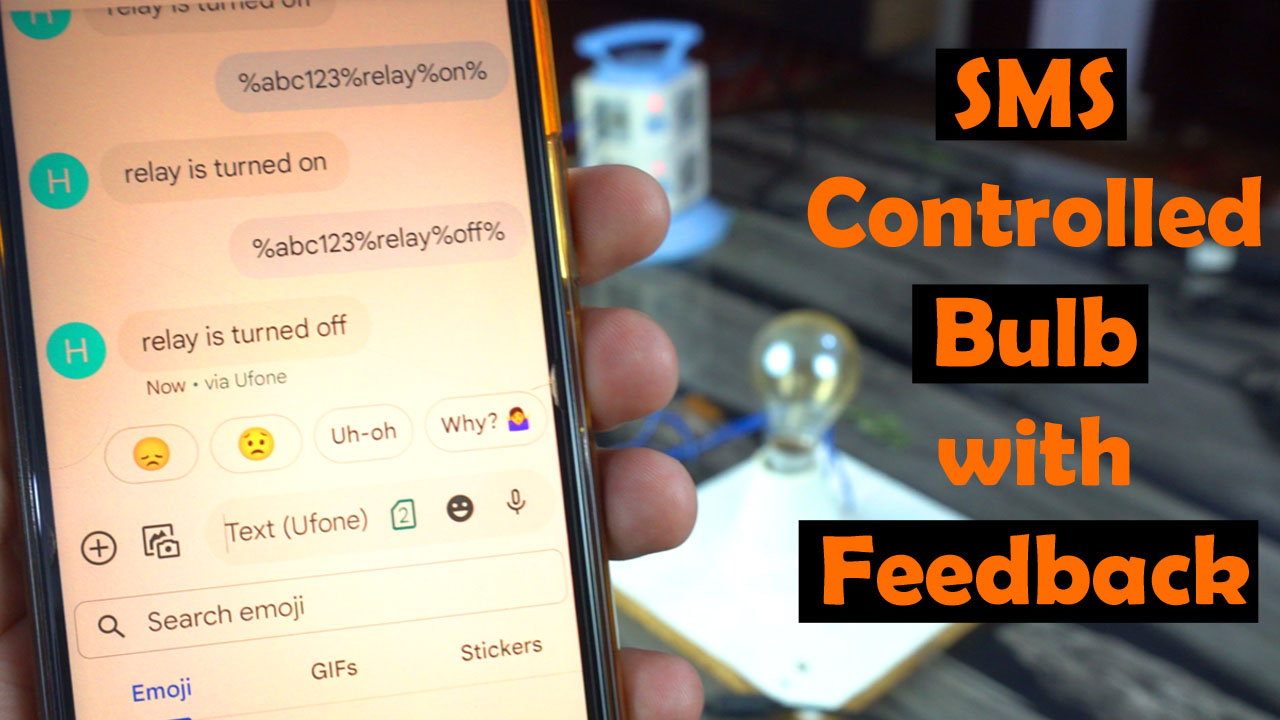
As you can see, the bulb has turned OFF, and the Arduino also sent me a feedback message “relay is turned off”.
Now, let’s check the value of the sensor.

This time, we have only written the password, and the command “req” the message format remains exactly the same. Let’s send this message.
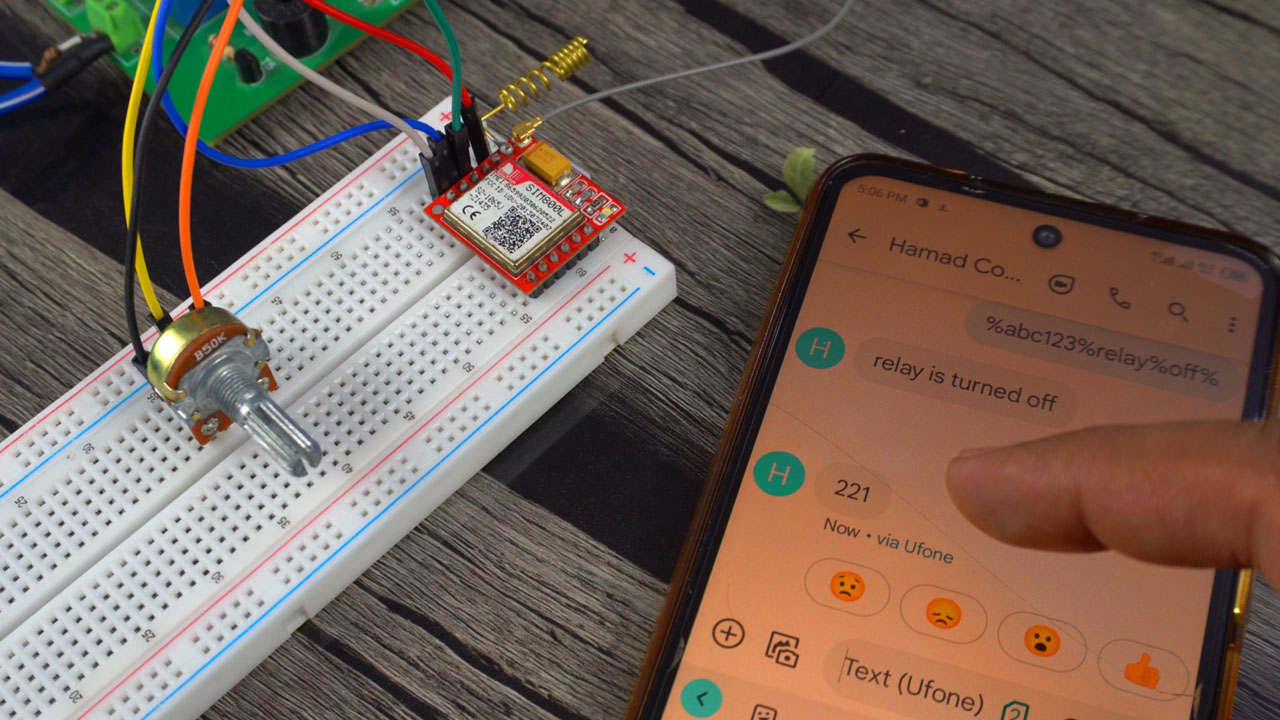
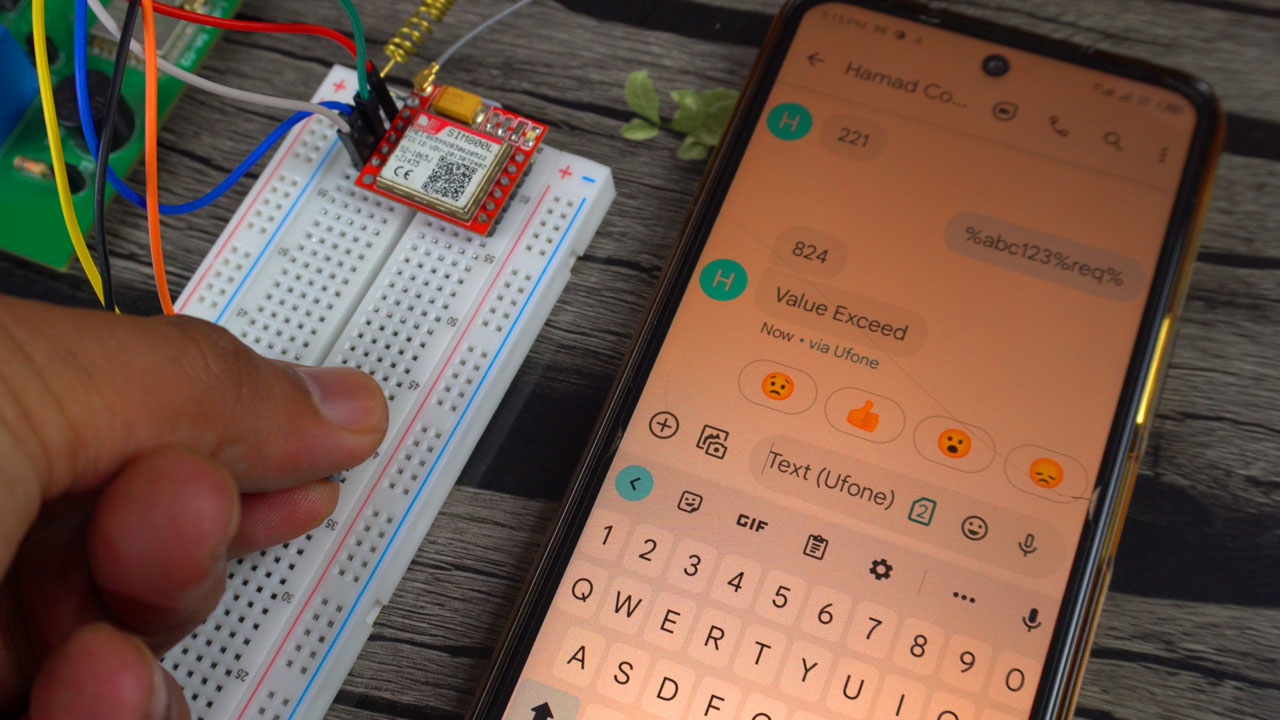
As you can see, we have received the sensor value 221. Now, we’ll rotate the knob of the potentiometer slightly to change the value. Let’s request the sensor value again.
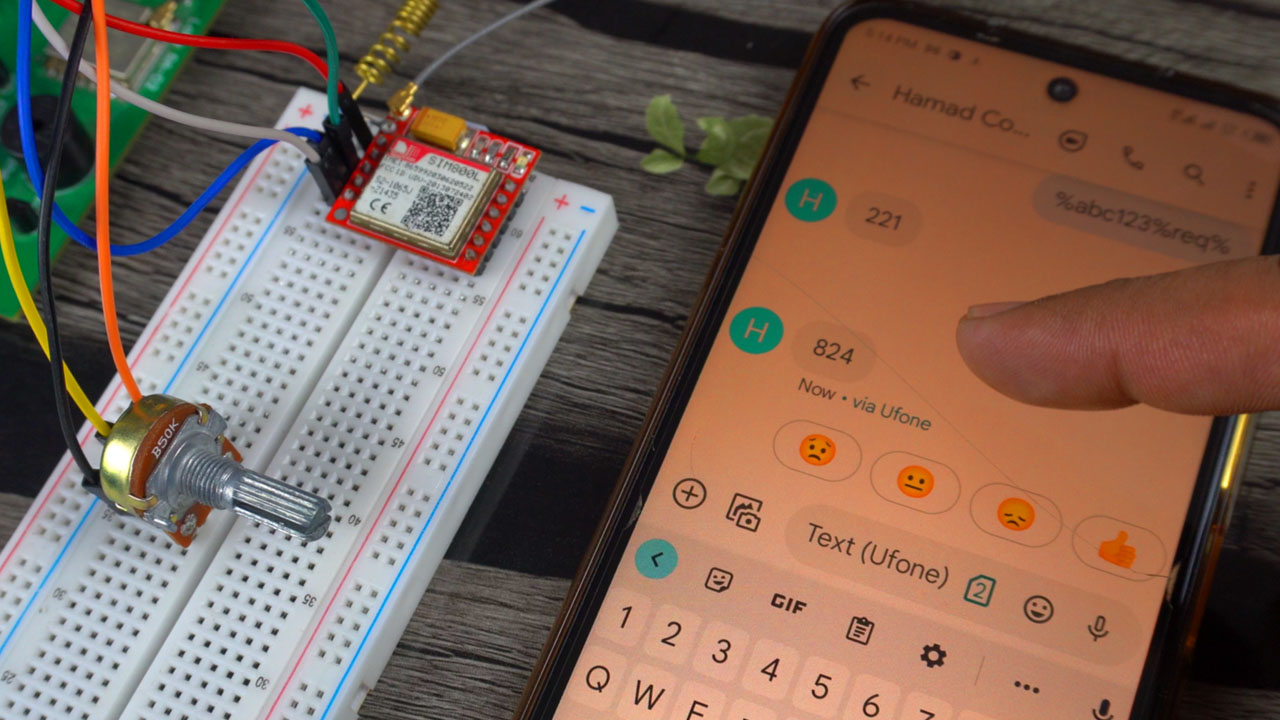
This time, you can see we have received a different value. In this way, you can monitor the sensor at any time and from any cell number, provided you remember the password and message format.
And not just that. In this project, we have also added an automatic feature. Whenever the sensor value crosses the threshold value, I receive a message saying “value exceeded.” So, let’s increase the value and see if we receive the message.
This is amazing. In one article, you will learn all these things. So, without any further delay, let’s get started!

Comment