


Complete guide to assembly, parts, modeling, and code for robotics with Arduino
The objective of this article is to discuss the assembly of a small-sized car-shaped robot using electronic components, 3D and 2D modeling of the chassis and parts, and Arduino programming. This development product allows for attachment of sensors, such as a sonar sensor, to allow for autonomous navigation without colliding with obstacles, an IR sensor for remote control, and an IR tracking sensor on the underside to enable line following on the floor. This way, we would have a highly versatile robotics kit capable of tackling various challenges commonly found in robotics competitions around the world, such as the First Lego League
The Electronic
For the electronic components, we chose sensors and actuators that are commonly available in the market and allow for easy and affordable purchasing and replacement. We arrived at the following list:
1 L298N H-bridge motor driver:
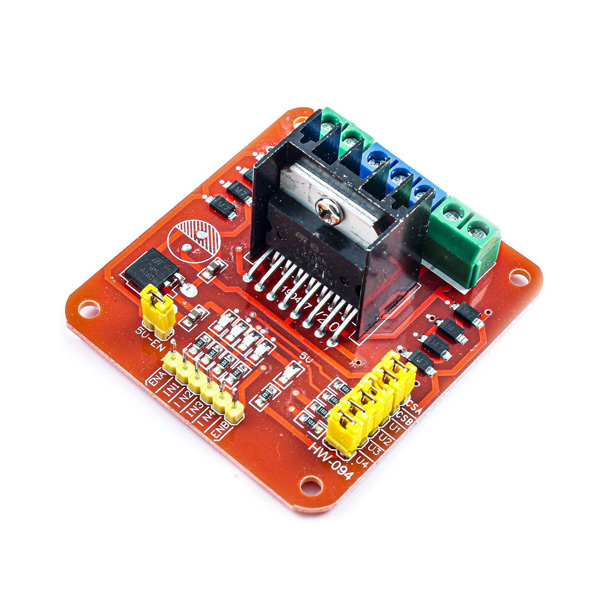
1 Sensor shield V4 (out V5):
1 kit Controle IR (Control + Receptor):
1 Servo Motor MG90, SG90 Tower Pro:
- 2 Red Leds 5mm and 2 Yellow Leds 5mm
In our case, the DC motors are used to drive the wheels, the H-bridge motor driver controls and sends control signals to the motors, the Arduino serves as the main control board for the robot, the sensor shield organizes the sensors and actuators on top of the board, the IR sensor enables remote control, the ultrasonic sensor prevents collisions with obstacles, the servo motor allows the robot to point the ultrasonic sensor in different directions, the LEDs are used for decorative purposes simulating front and rear headlights, and the buzzer simulates a horn.
Assembly Process:
We have created an assembly guide, but won’t include it in its entirety in this article as it would make it excessively long. You can find the complete guide at the following link:

https://github.com/rafaellevissa/2wd/blob/main/assembly2WD.pdf
Code:
We have created multiple versions of the code depending on the desired functionality for your robot. All versions are available in the GitHub repository: https://github.com/rafaellevissa/2wd. The code is written for Arduino and each version includes control of the robot via remote control, autonomous navigation, or line following on the floor.

To upload the code, simply download the Arduino IDE, select your board model, and upload the code to the board.
Finally, We also created a version of this robot that can be controlled via the internet using the following architecture:


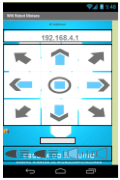
Controlled via the web or Android application. This model communicates via RX, TX between the Arduino and the ESP8266. These advanced versions controlled via a web project on an AWS server and the version controlled via local Wi-Fi using the Android app are all available in the GitHub repository.
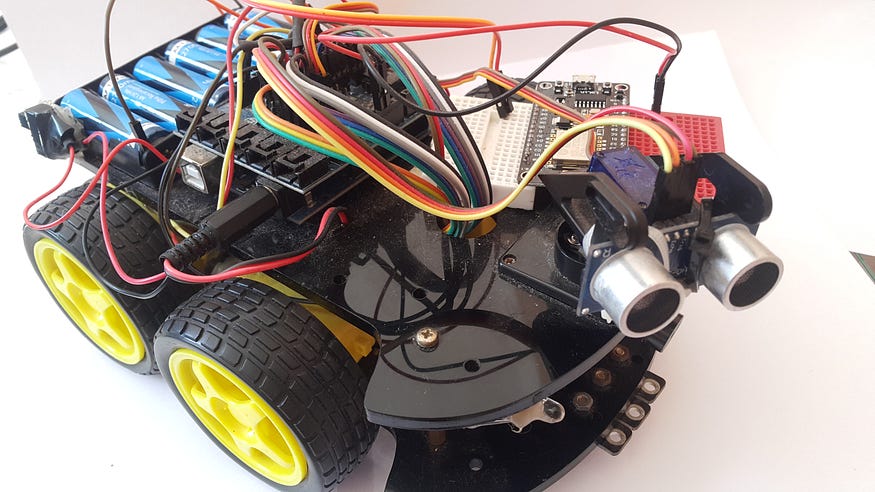
The final result after assembling the robots:

Videos:

Comment